How to Make a Cheap and Easy Tree Skirts Using Recycled Materials
Article may contain Amazon & affiliate links. As an Amazon Associate I earn from qualifying purchases at no additional cost to you.
Are you one of those people who think Christmas tree skirts are a holiday staple? Finish your tree off nicely with this simple but pretty DIY tree skirt! This DIY Christmas tree skirt is so easy, fun and fairly quick to sew and will provide an unique decorative finishing touch to your tree!
DIY tree skirt
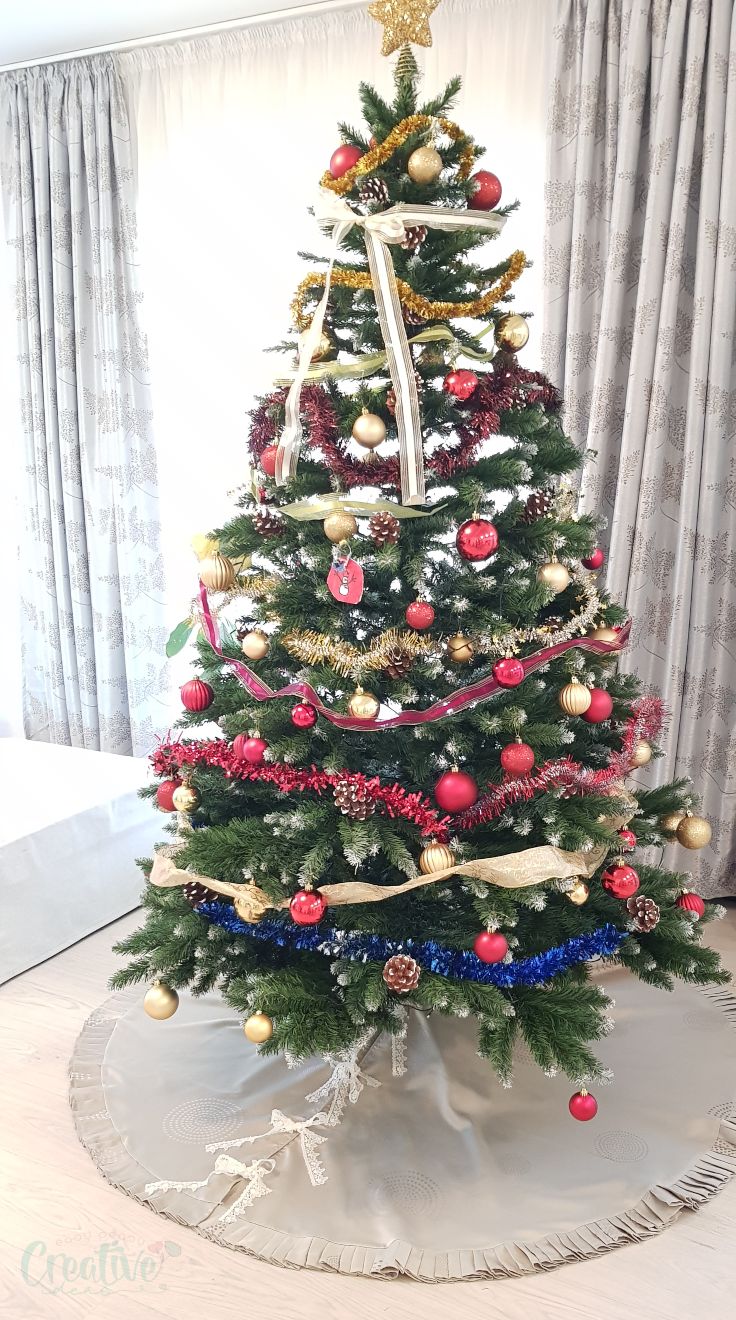
Hey, guys! Today I'm sharing my latest and (most likely but that's not a promise) last Christmas projects: the DIY tree skirt I made for our Christmas tree! I have a confession to make! I've never had a tree skirt before and I didn't plan at all on making this handmade tree skirt. Sewing a Christmas tree skirt was one of those "spur of the moment" projects because our tree seemed quite incomplete without a skirt.
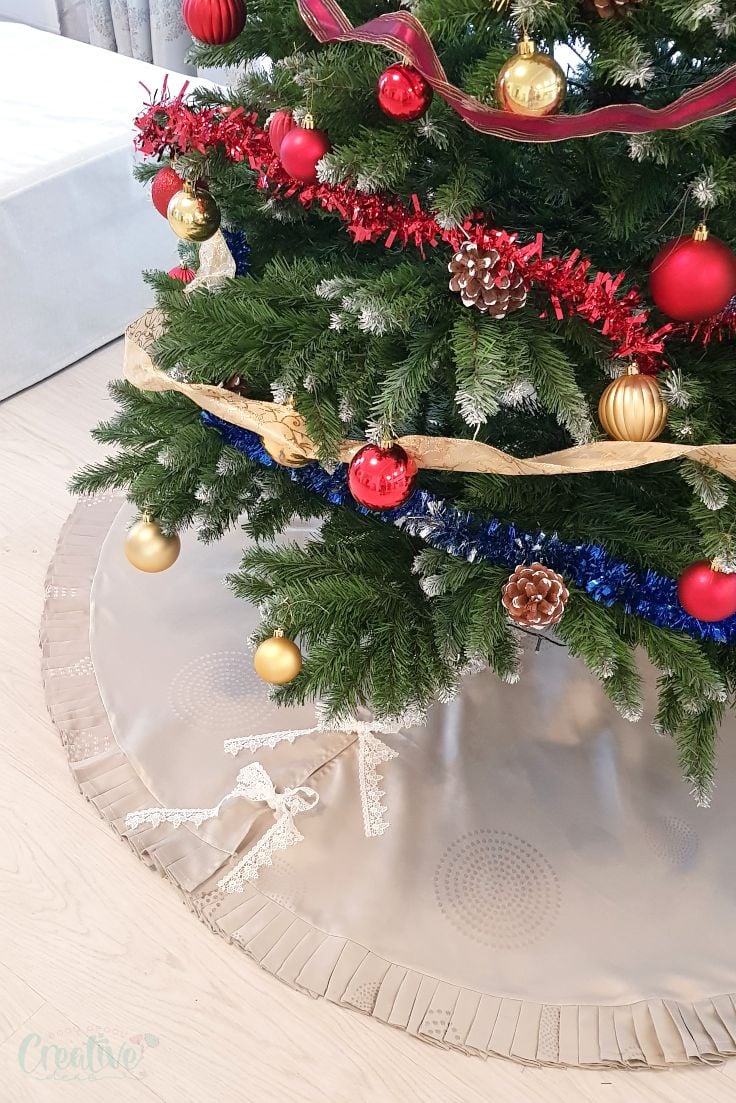
I've been sewing a lot of gifts for Christmas, some older projects and some new (I'll list them below in just a moment; if you're still behind on sewing for Christmas, these are pretty quick and easy to sew). But I never made anything for myself or the house! It's a tradition that we put our Christmas tree up 1st of December but once we got it up, something was missing! It took me a little while to figure out what but it finally hit me: our tree needs a DIY tree skirt!
- Yoyo Christmas tree ornaments
- Mini mitten ornaments
- Fabric Christmas tree ornaments
- Christmas tree pillows
- Christmas bunting
- Elf stocking pattern
- Simple Christmas stocking
I didn't make a Christmas tree skirt pattern for this project because I think you really don't need one, it's so easy to make. You basically measure the base of your tree, calculate the diameter (or the radius), measure the desired length for the skirt and using a yard stick, start drawing a circle skirt. Much like I did in this circle skirt for girls. We'll get into more details below, in the step by step tutorial.
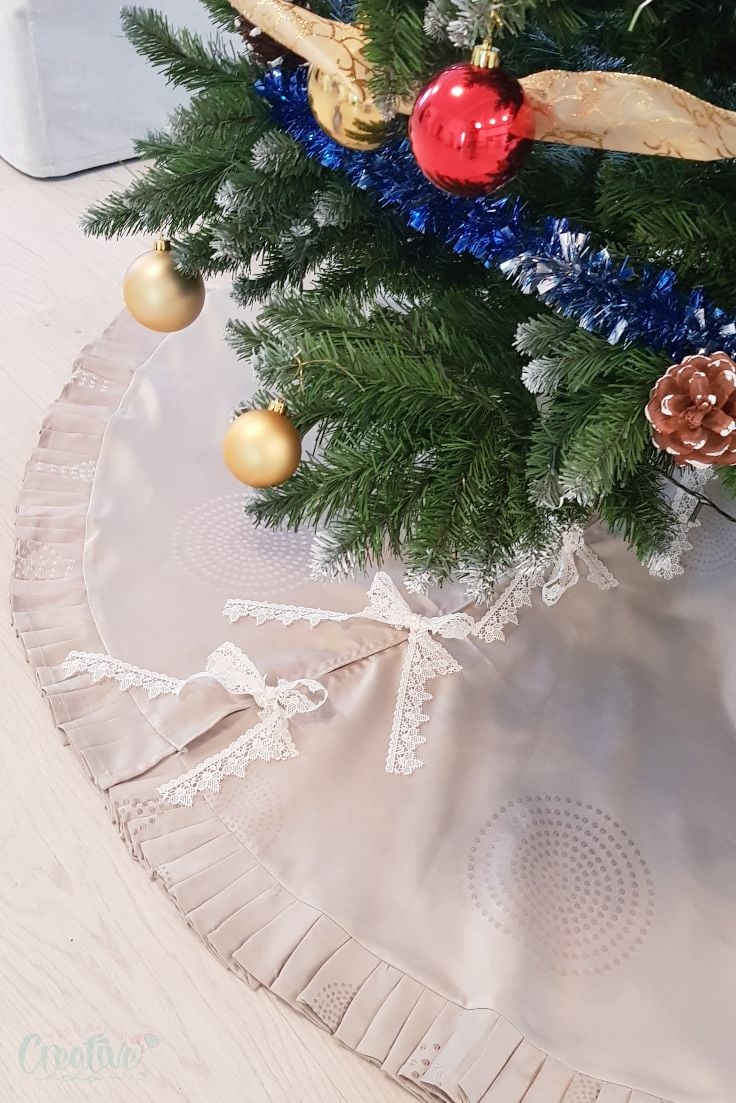
But first let's answer a few questions you might have about a Christmas tree skirt.
What is a Christmas tree skirt
Tree skirts are rounded pieces of fabric with a slit, used to cover a Christmas tree stand. They are festive, decorative pieces that fan out around the base of your tree, providing a space to lay presents on so they're not just lying on the floor. They're also a great way to catch needles (if you use a real Christmas tree) or hide wiring from lights.
How big should your Christmas tree skirt be?
The size of your tree skirt depends on the size of your tree stand, the diameter of the Christmas tree and the number of items you plan on displaying on your tree skirt (like gift boxes or gift bags). When calculating the skirt diameter take all these into consideration and add 2-3 more inches as allowance.
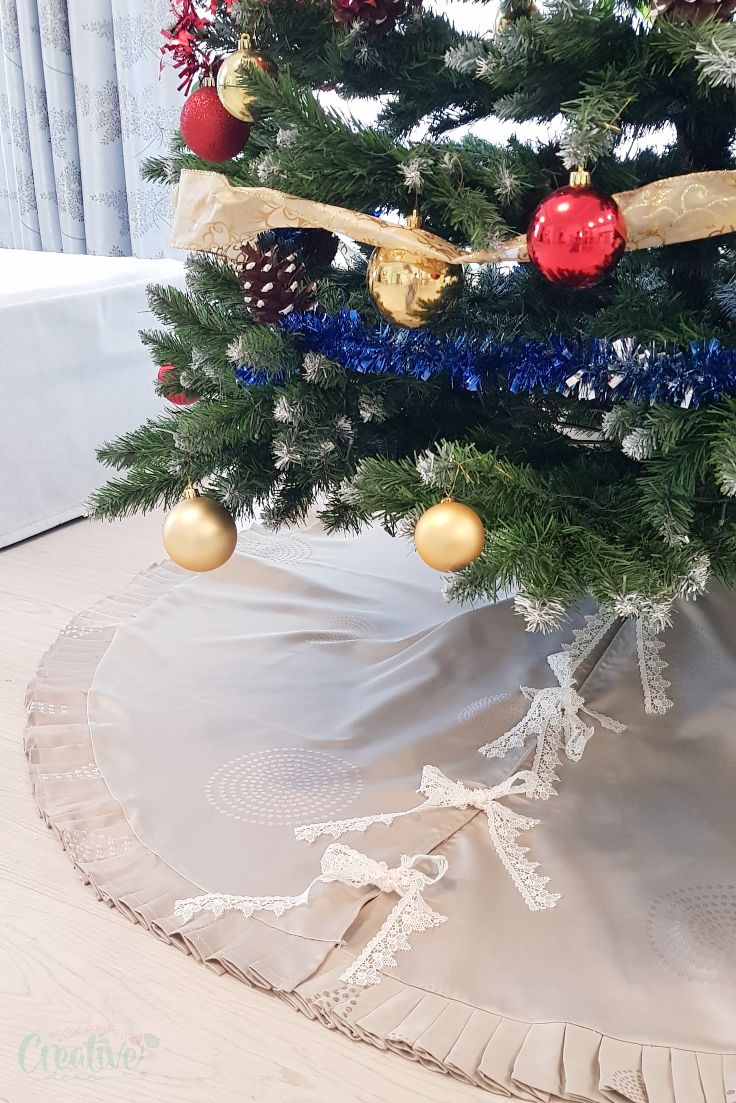
The size of your tree skirt will also depend on your style. Some people think the tree skirt should be smaller than the diameter of the outer branches of the Christmas tree while others (like myself) like their tree skirt larger than the actual tree. I made mine just a little bit wider than the diameter of the outer branches, enough to peak out from under the tree.
How much fabric do I need for a tree skirt?
As mentioned above, the size of your skirt depends on a few factors. These factors will also decide the amount of fabric needed. For a small skirt 1 yard of fabric will most likely do while for larger skirts, you may need to use up to 3 yards of fabric. I used about 3 for mine but a lot of fabric was used to make the pleats so if you add extra details to your skirt, take those into consideration when measuring the amount of fabric needed.
What can I use instead of a Christmas tree skirt?
If sewing a DIY tree skirt is not your thing but would still like to give your tree a more festive and polished look, here are a few ideas you can use to cover the base of your tree:
- Sit your tree on a piece of burlap fabric topped with a cardboard circle, then pull the burlap up and tie around the base.
- Mask the base with a rustic crate or a basket.
- Wrap a large, chunky knitted scarf around the base of your tree.
- Cut a slit in a large round rug and arrange the rug around the base of the trunk like you would do with a tree skirt.
- Surround the base of your tree with empty gift boxes of various sizes, to mask the stand and the base of the trunk.
But if you can wait to make your own DIY tree skirt, here is the step by step tutorial for my tree skirt.
DIY Christmas tree skirt
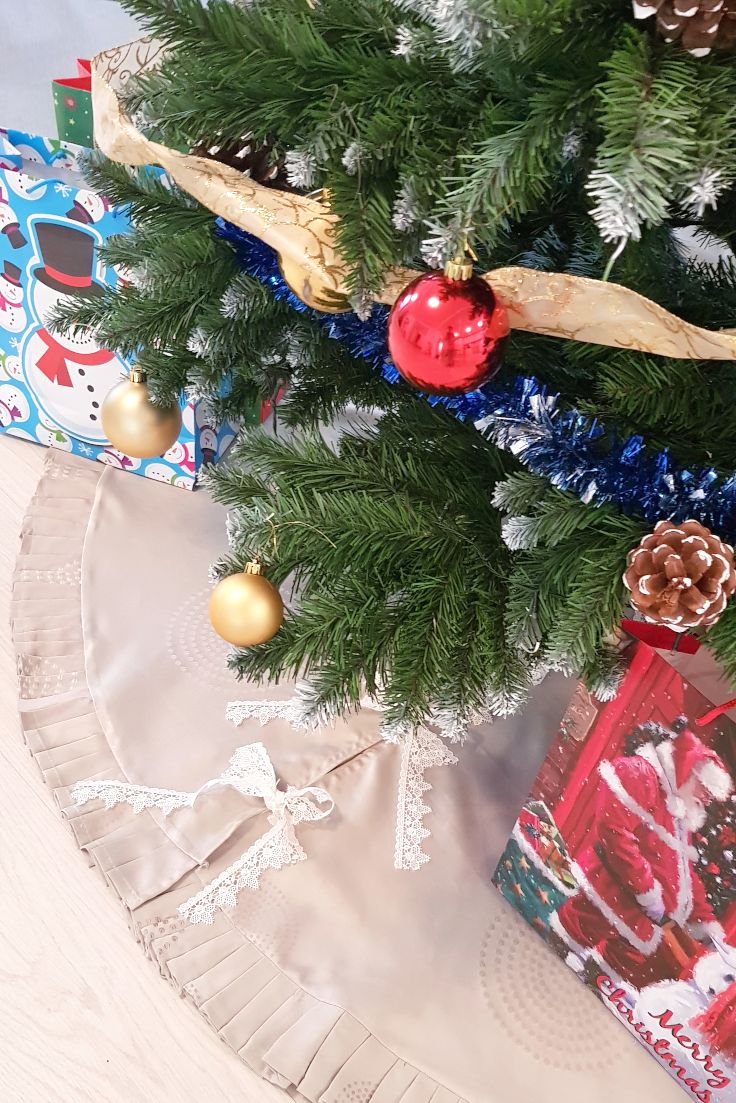
Materials:
- 2-3 yards of fabric for the skirt, depending on the size of your skirt (if you're making pleats like I did, I would add an extra yard just to be sure I have enough fabric.; those pleats ate TONS of fabric and I honestly lost count as to how much I used).
- single fold bias tape
- scissors
- pins
- matching thread
- sewing machine
- yardstick
- lace for ties
- pressing iron
Directions:
Make the circle skirt
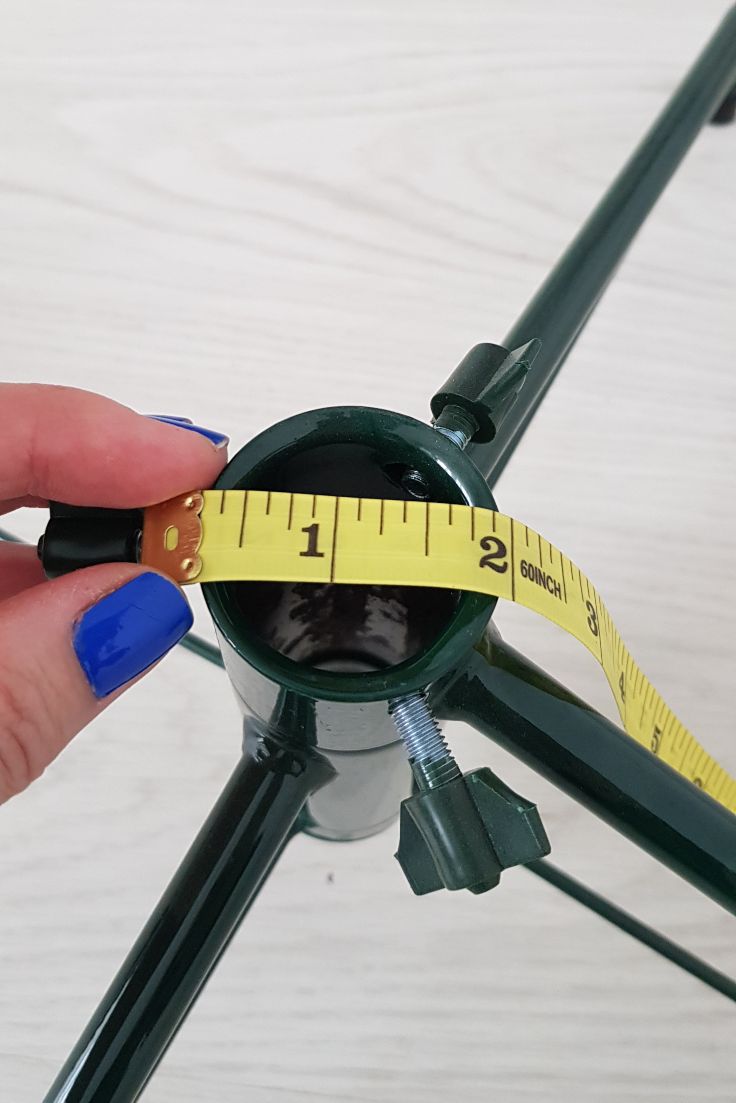
- Measure the diameter of the tube in your tree stand. This will be the diameter of the "waist" of your tree skirt. Add a little bit of allowance which will be used to attach the bias tape (so maybe about 1/4″ allowance will do).
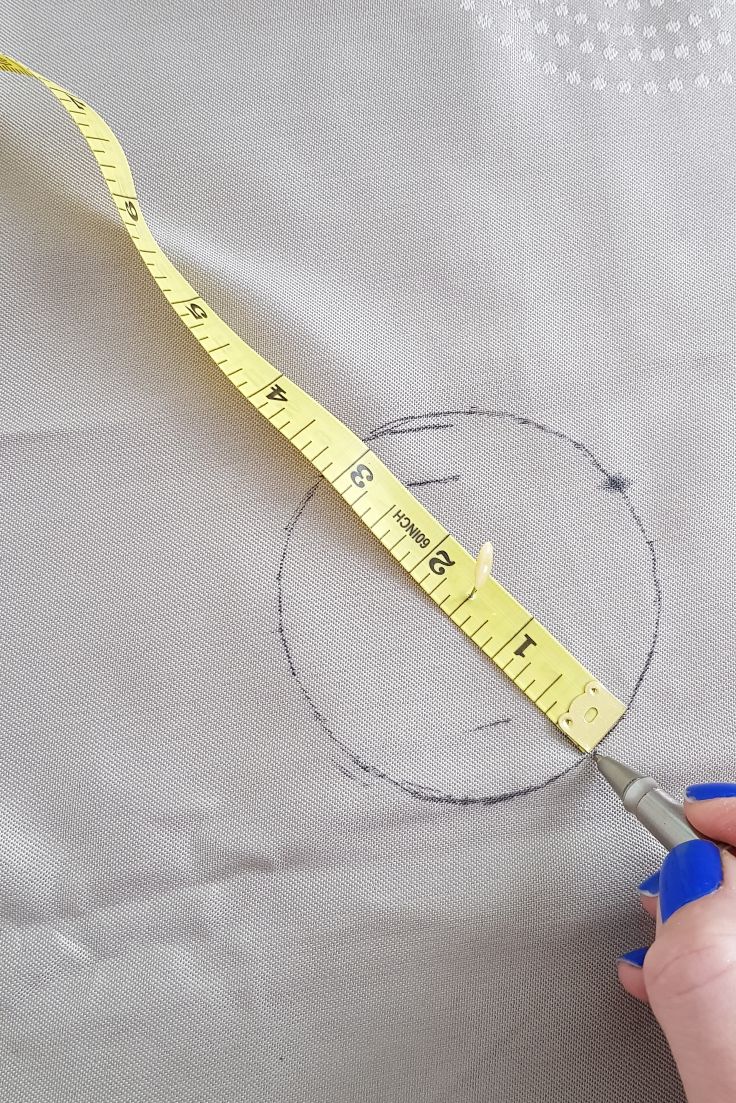
- Draw this circle onto the center of your fabric.
- Measure the length of your skirt, taking the stand into consideration too.
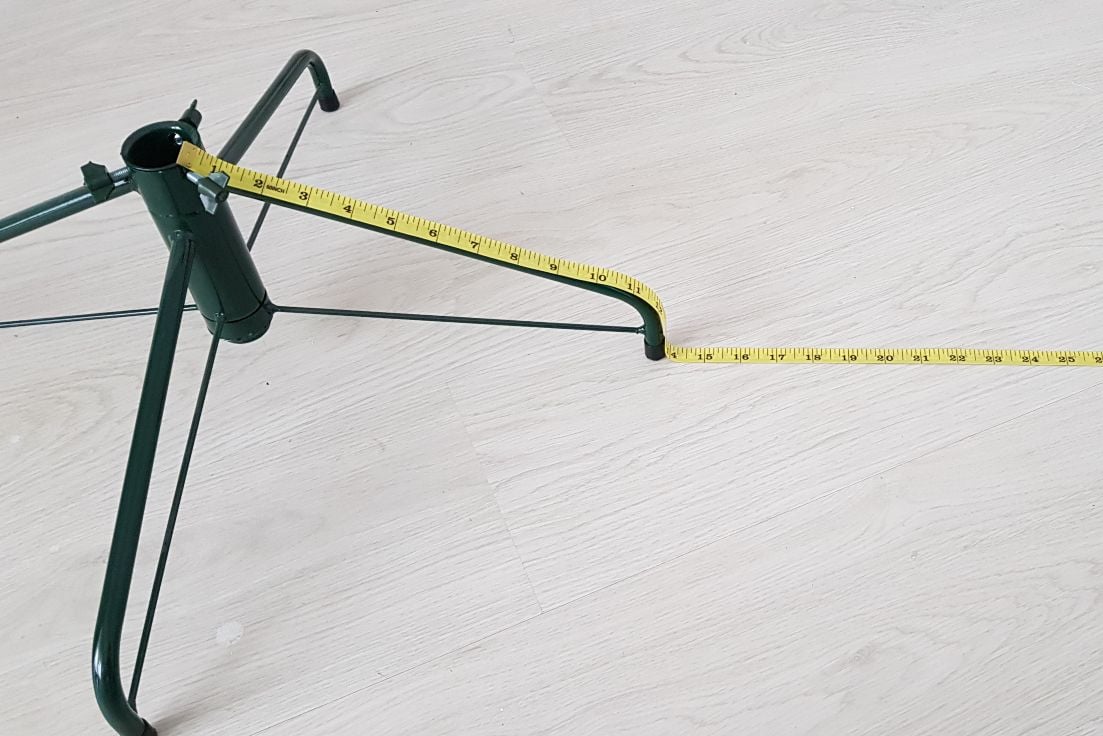
- Using a yardstick or the measuring tape, starting from the center of the "waist", draw the outer circle based on your length measurements above.
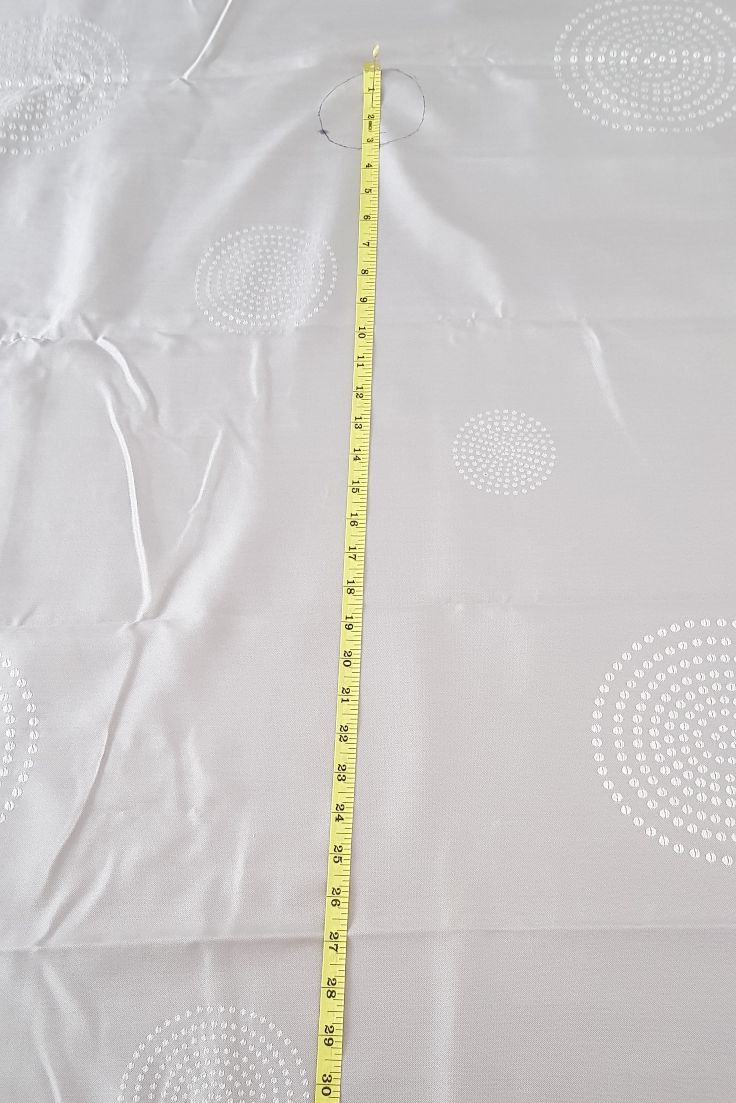
- Cut out the fabric at the waist and outer circle.
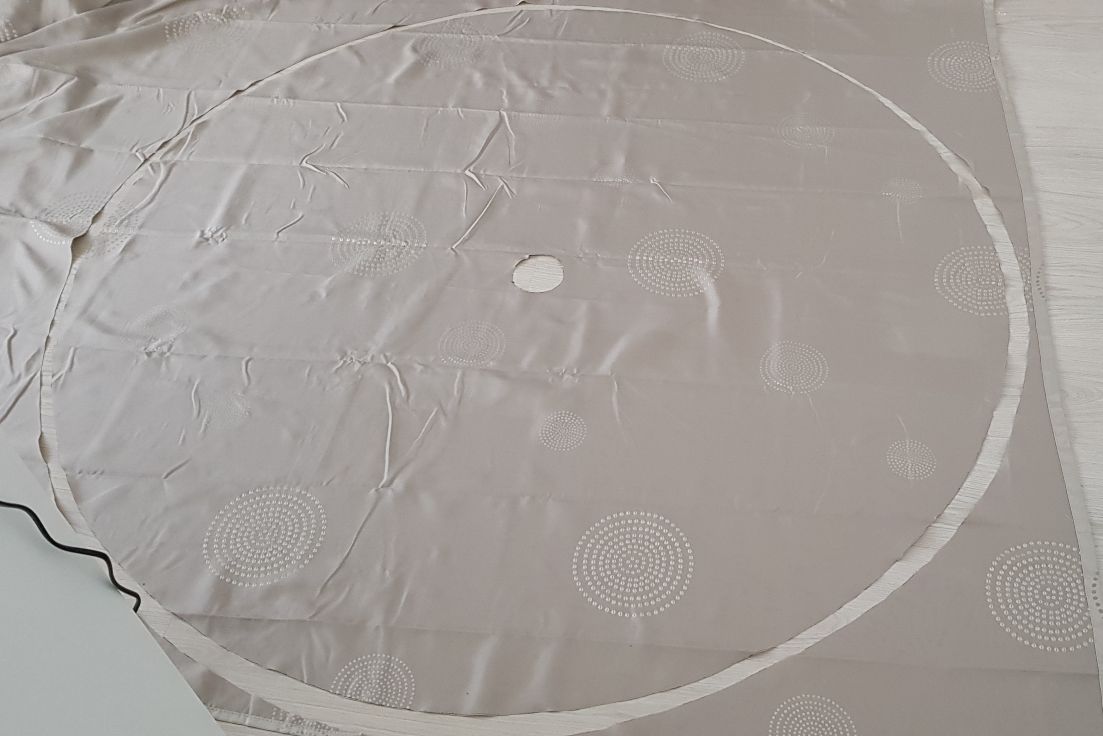
- Cut a slit in your skirt, starting from the outer circle to the inner circle.
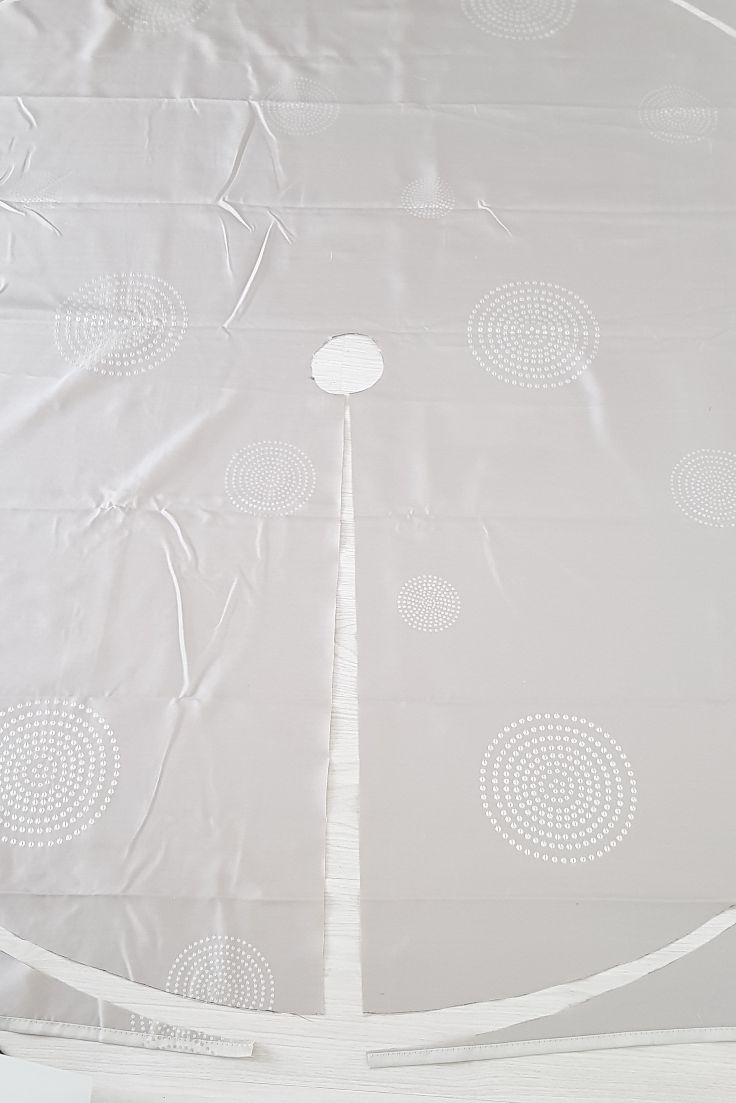
- Attach the single fold bias tape to the inside of your skirt, along the slit and the waist. Use this tutorial as a guide if you've never sewn single fold bias.
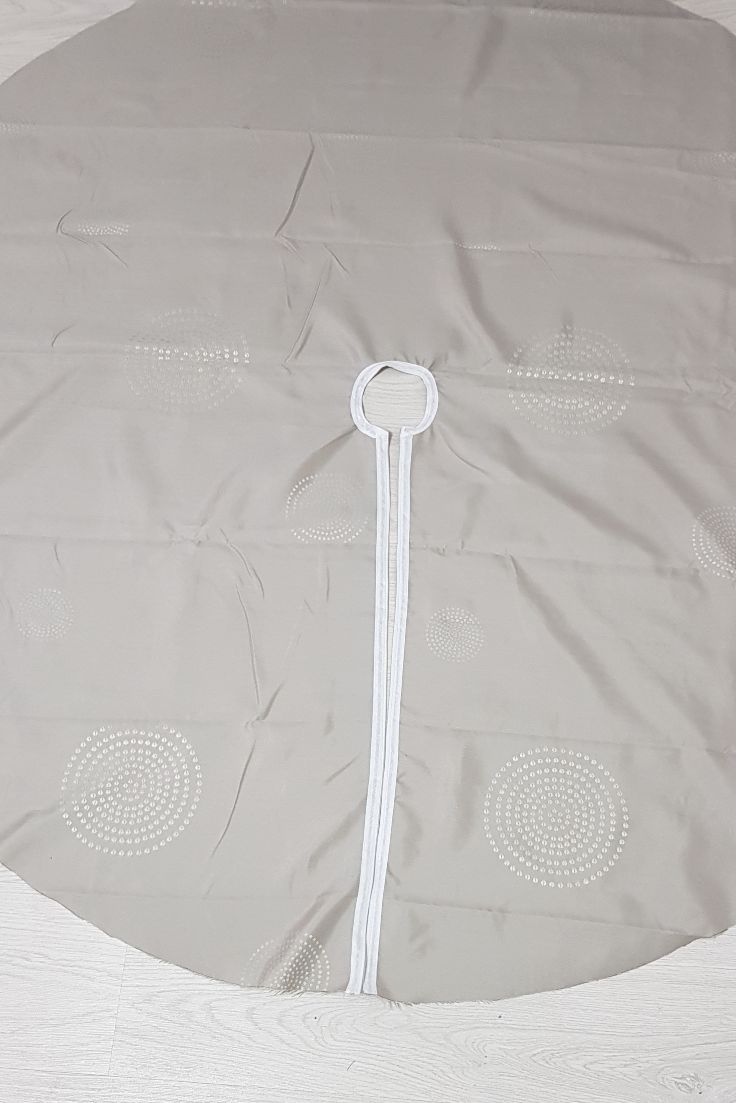
Make the knife pleats
- To make your pleats you'll need a strip at least three times longer than the outer circle. You'll need to attach more strips together to get one super long strip.
- Decide how wide your pleats would be and double the number to find the width of the strip. If your fabric is too thick you may want to skip doubling the width. In this case you need to hem one edge of the strip so consider adding hem allowance to one side.
- Don't forget to take the seam allowance into consideration when calculating the width (I added 1″ allowance because I was dealing with too much fabric, I wanted to have plenty of room to sew). This is for when you attach the pleats to the skirt.
- With the iron on steam, fold the strip in half and press very well to get a sharp fold.
- Make knife pleats as indicated in this tutorial. I used the fork method for this tutorial but I didn't have time to show it in a tutorial so that's why I'm recommending the other method for now.
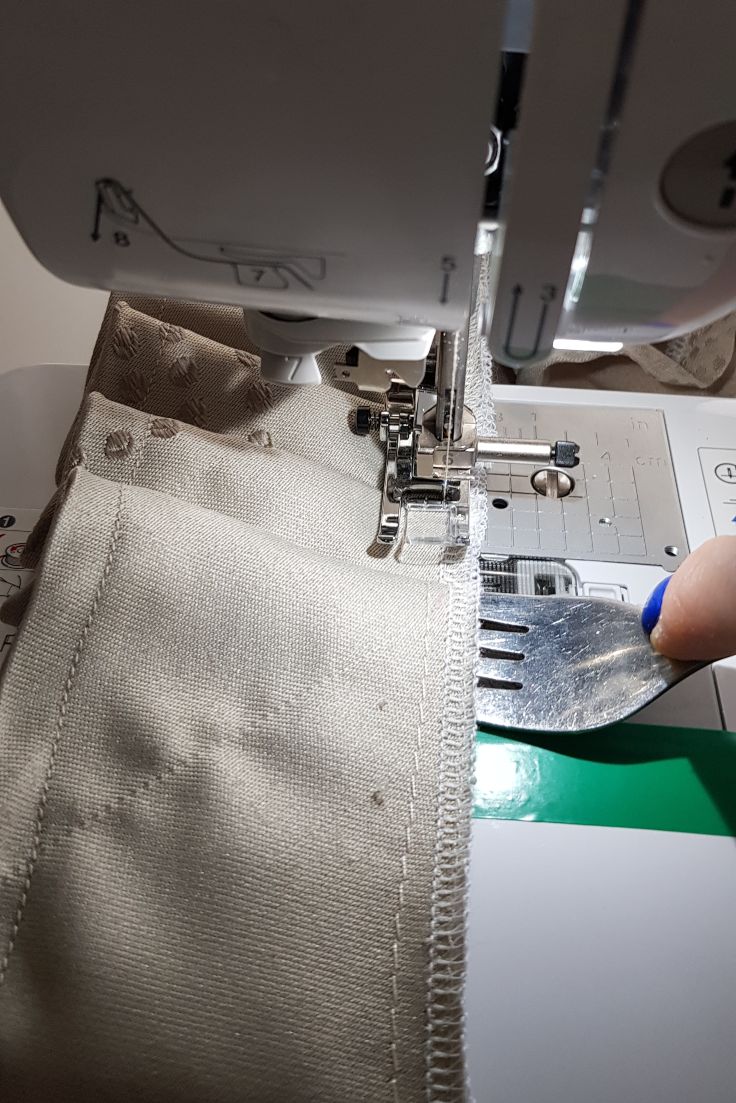
- Because I used the fork method, I found it's easier and less messy to just serge the raw edges of my long strip (plus my fabric was fraying a lot and the frays were getting in my way so serging was an absolutely necessary step for me).
Sew the pleats to the skirt
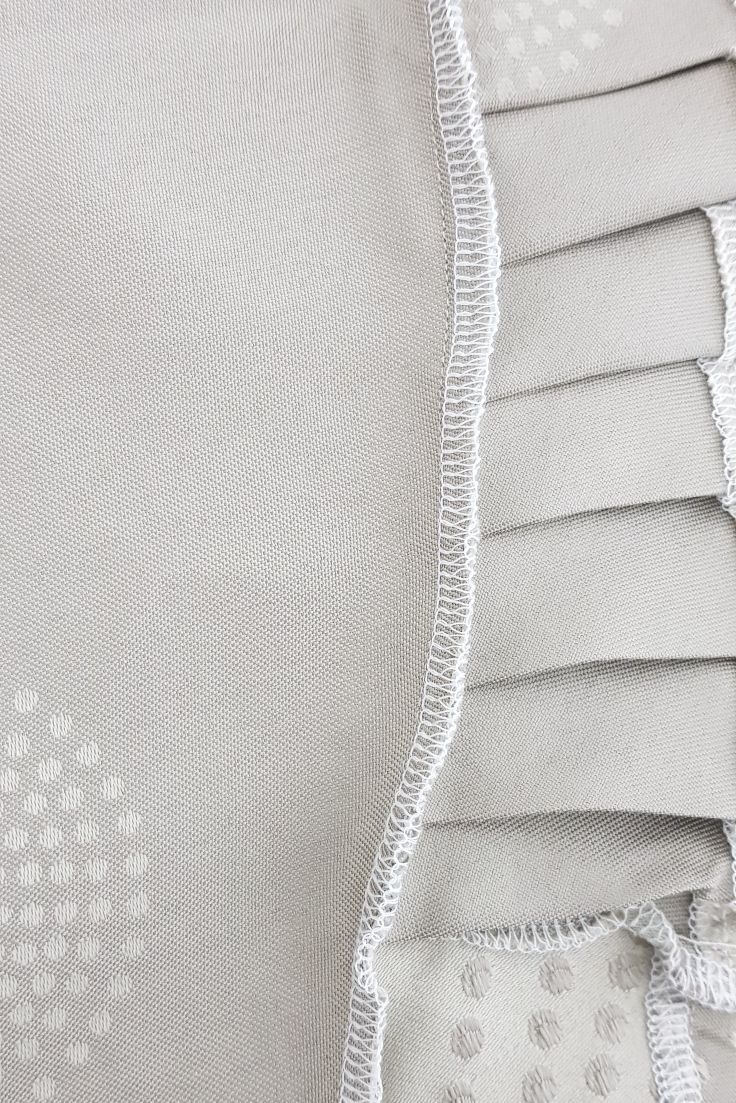
- Once the pleats are done and the whole strip is finished, attach the strip to the base of your DIY tree skirt. With the skirt right side up, match the strip and the skirt at the raw edges. Pin and sew with decided allowance.
- Finish the raw seam (I used a serger but here are 12 ways to finish seams if you don't own a serger).
- Pin strips of lace to both sides of the slit, onto the right side of the skirt, then sew.
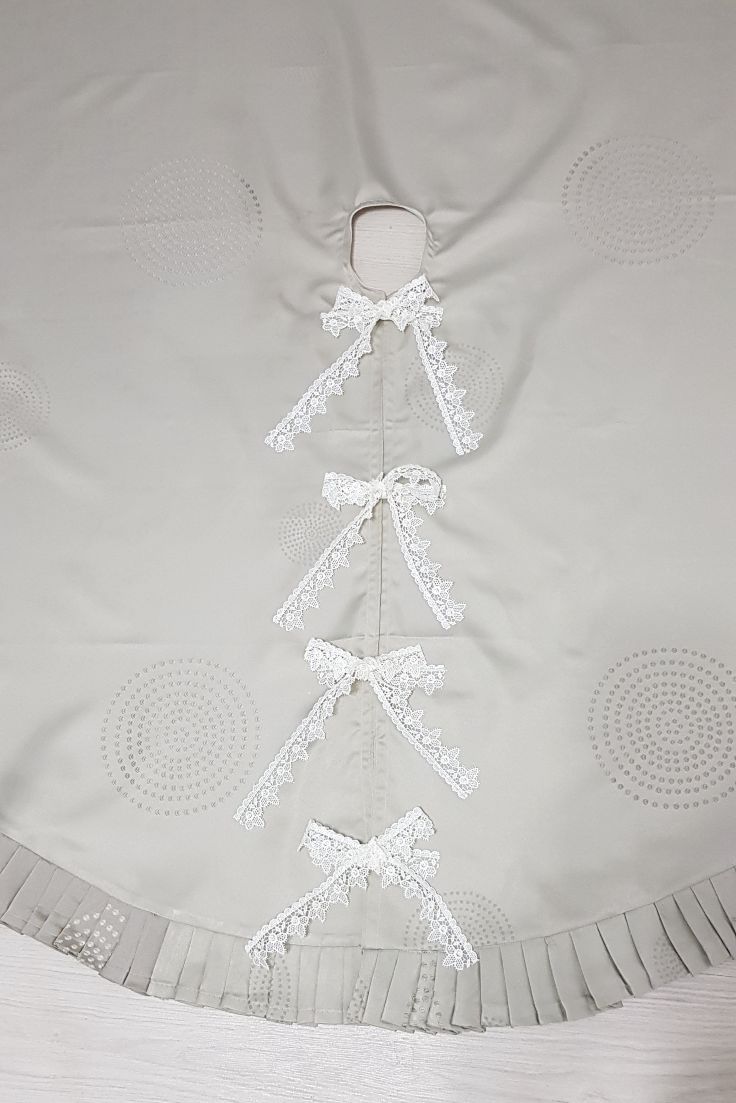
- And you're pretty much done! Place your DIY tree skirt at the base of your tree and tie the lace straps. Happy holidays!
If you liked this tutorial, please let me know in the comments below and don't forget to rate it! Thanks!
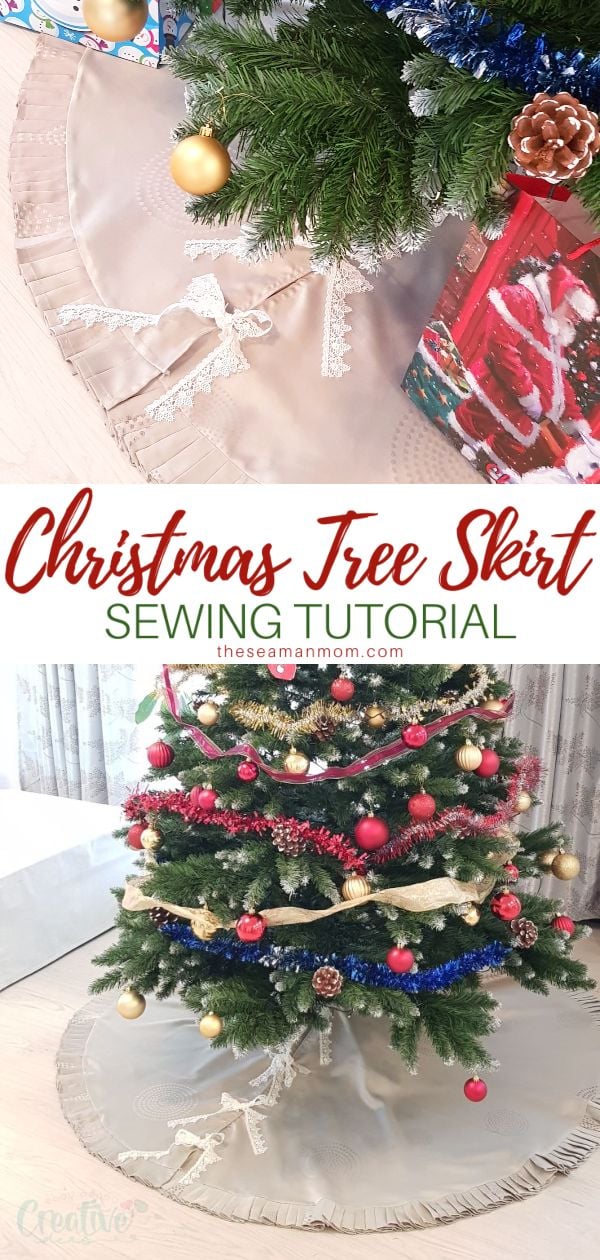
Pin to save for later
Most popular sewing projects:
- DIY corded bag handles
- Tips for sewing a round hem
- Flutter sleeve dress pattern
- How to laminate cotton fabric
lairdfultentreske.blogspot.com
Source: https://theseamanmom.com/diy-tree-skirt/
0 Response to "How to Make a Cheap and Easy Tree Skirts Using Recycled Materials"
Post a Comment